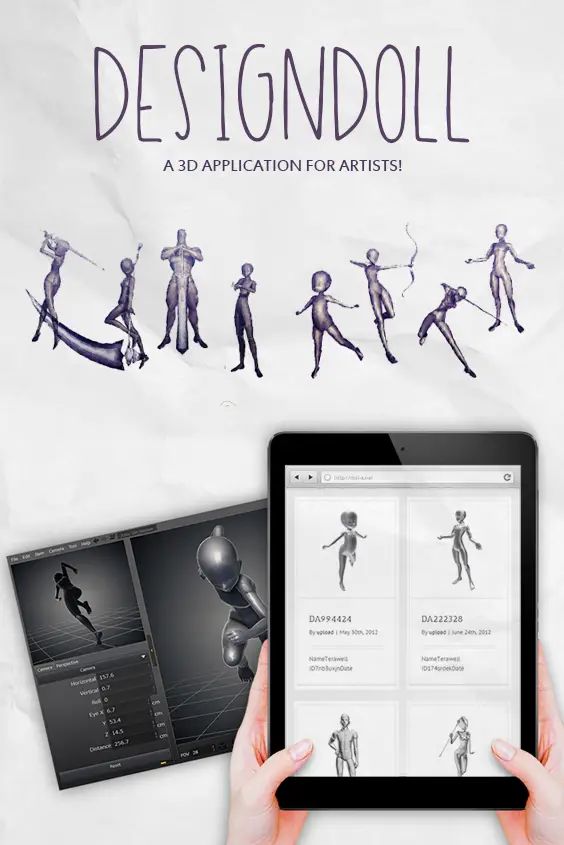
DesignDoll: A 3D Application for Artists
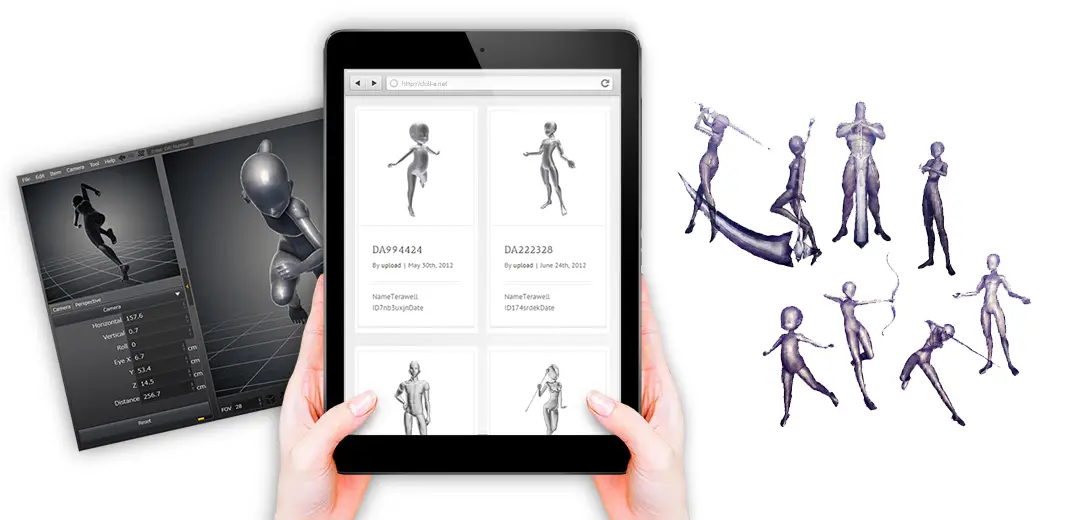
If you happen to be an artist or an aspiring one and like using reference pictures for poses or anatomy practice, I would like to recommend a 3D application that may simplify your work! DesignDoll is a rather simple, yet very effective tool developed by Terawell for posing 3D avatars that you can also modify to create different anime-like shapes or even more realistic figures. Let’s use this quarantine time to be creative!
Note: This post may include affiliate links.
The avatars from DesignDoll are basically the digital version of the Body Kun and Body Chan physical dolls design-wise. The program has a $79 Pro License should you want to get additional features like saving OBJ files for other applications, opening scenes you previously created or downloading additional models from the Atelier, but you can still download the Free trial for an unlimited use with posing, which in the end is going to be your primary interest.
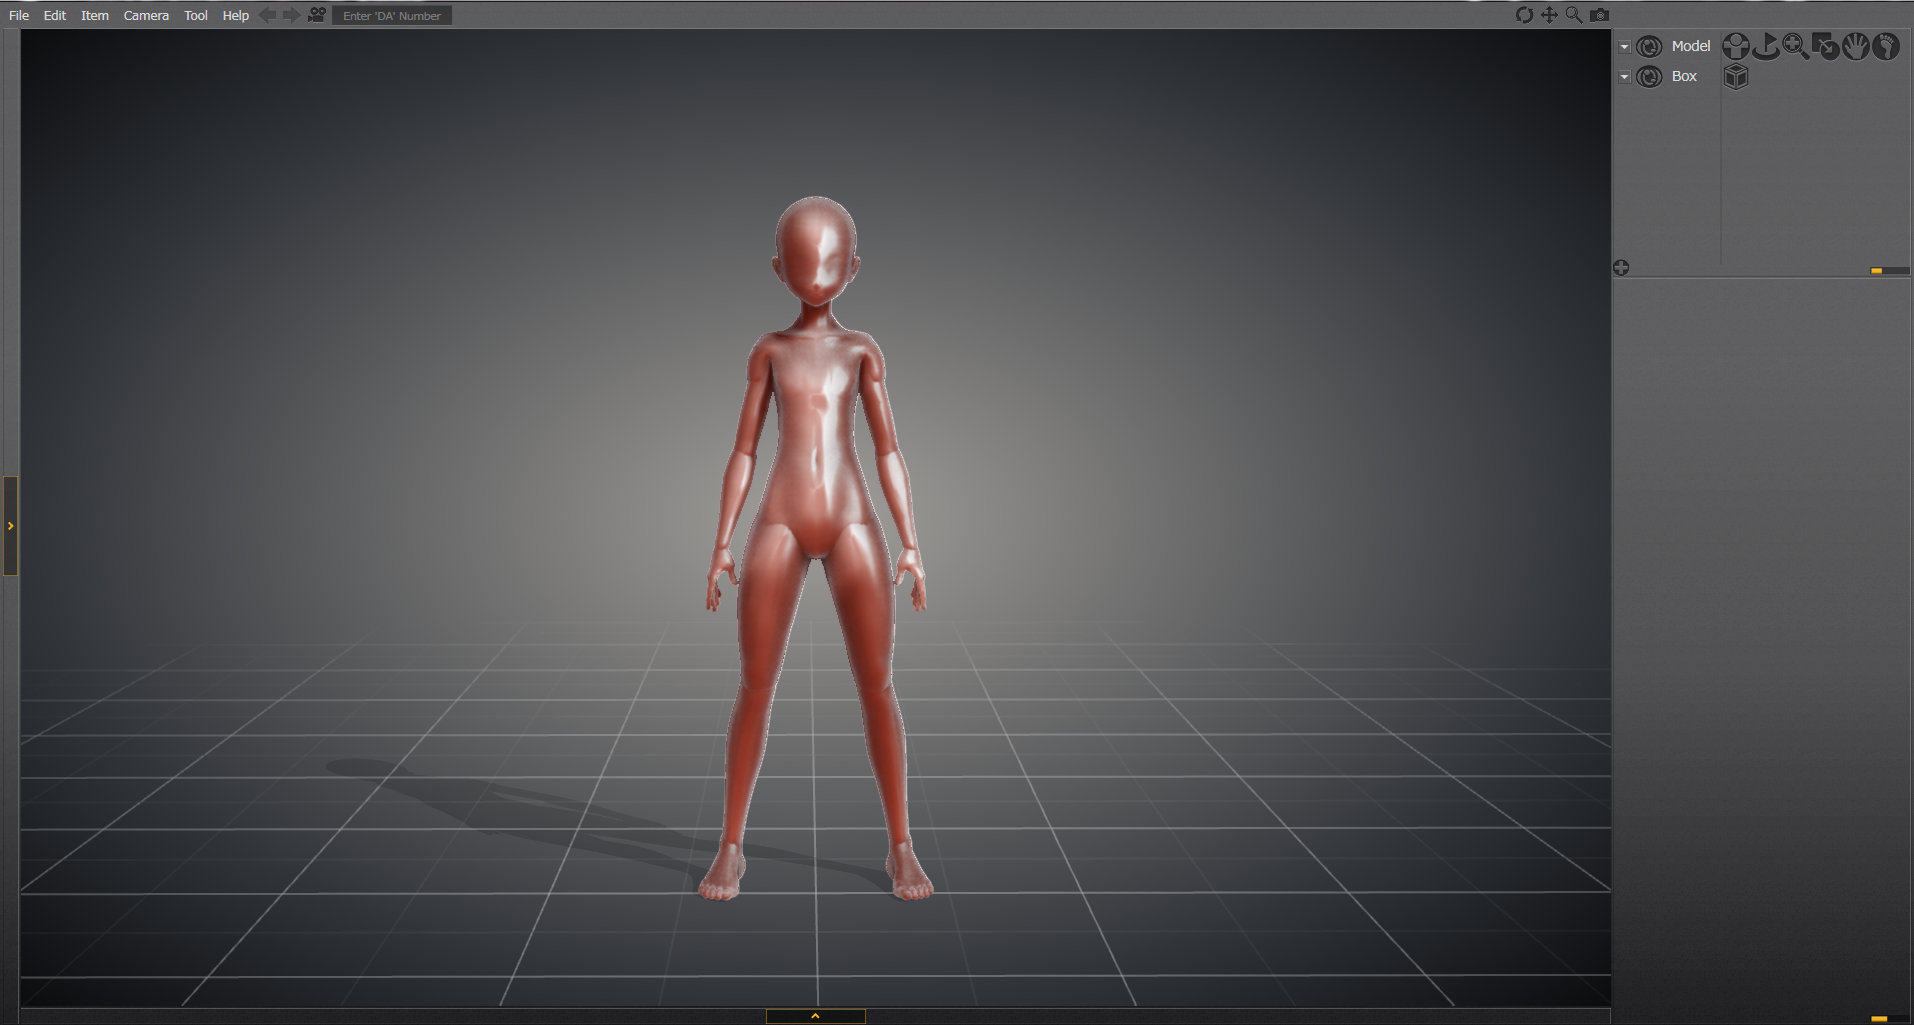
The program already comes with different presets for male and female that you can select to customize the avatar, but you can also shape the body and head manually by adjusting the bones and their width/length. Next to the Model setting in the right panel you will find a few categories implemented to modify the figure as you want it; the fourth button will open the selection menu for shapes that you can turn on or off using the circular sliders and even mix together with other presets. The program offers different designs for the head, body structure and muscle control.
For the manual edits you need to open the third menu from the Model category (magnifying glass icon) and select one of the three settings from the lower panel. The first one (leaf icon) will load rotation controllers over the avatar that you can select to enlarge specific areas or change their height. The second menu (sliders icon) loads the entire skeleton set on see-through and you can select each visible bone to activate additional controllers for a better shaping on all body areas, while the third set (hand icon) is specifically made to have a better control over the finger length and thickness.
With DesignDoll you can also change the materials of the model with the Effects window hidden by default, click on the arrow right under the viewport to display it.
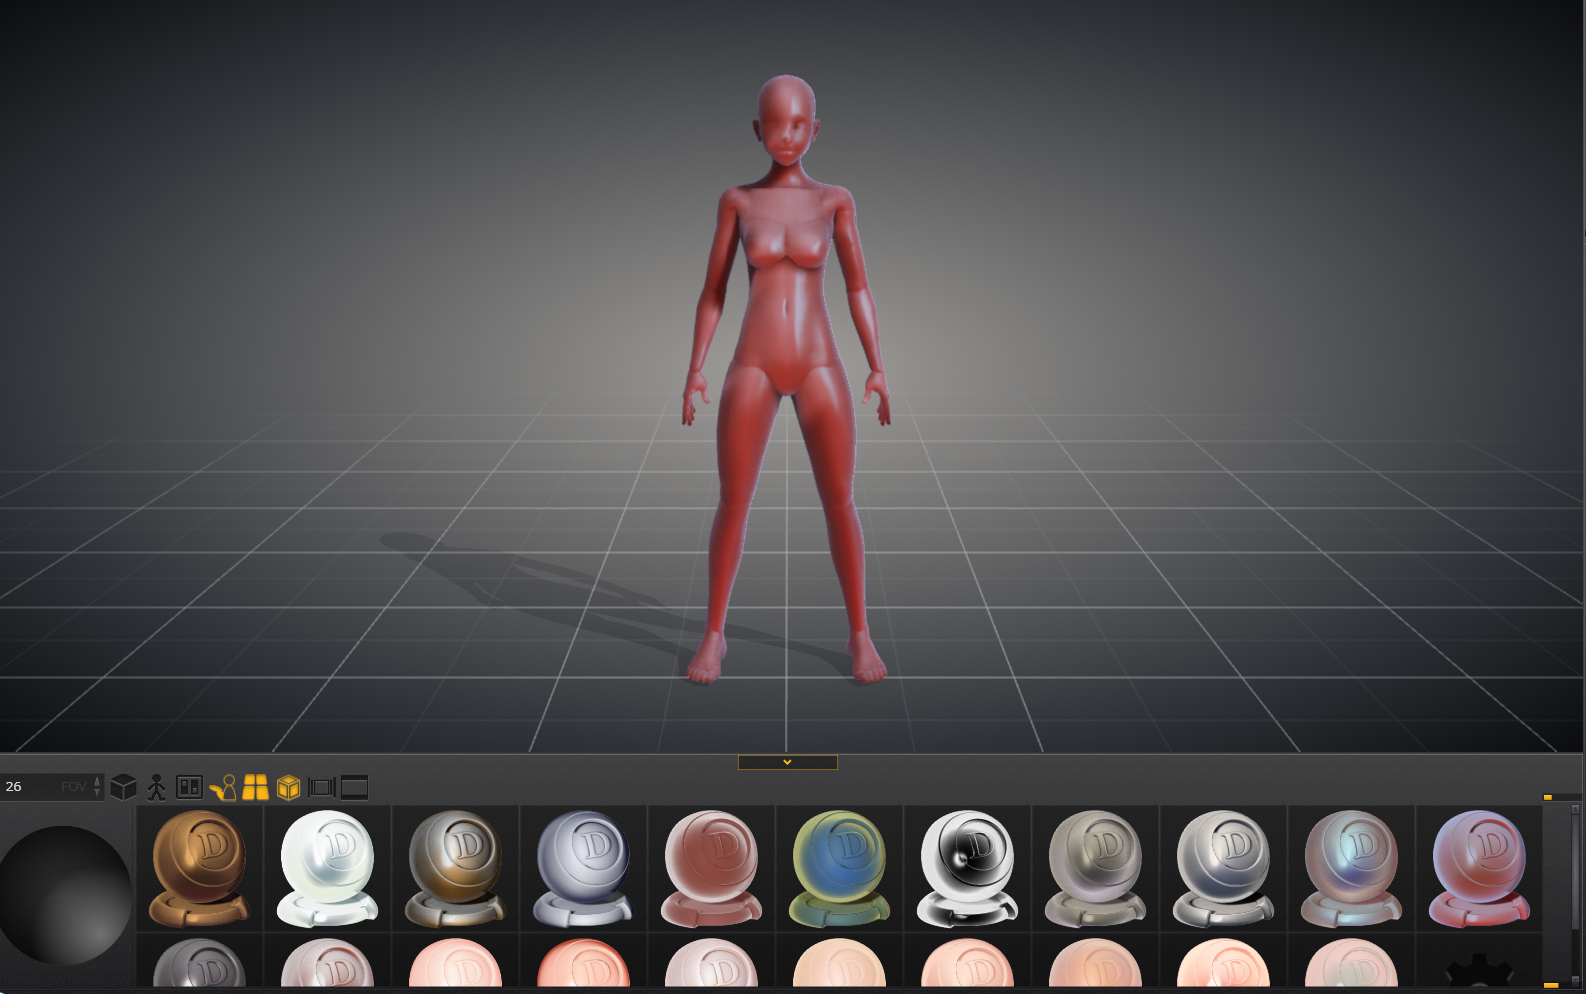
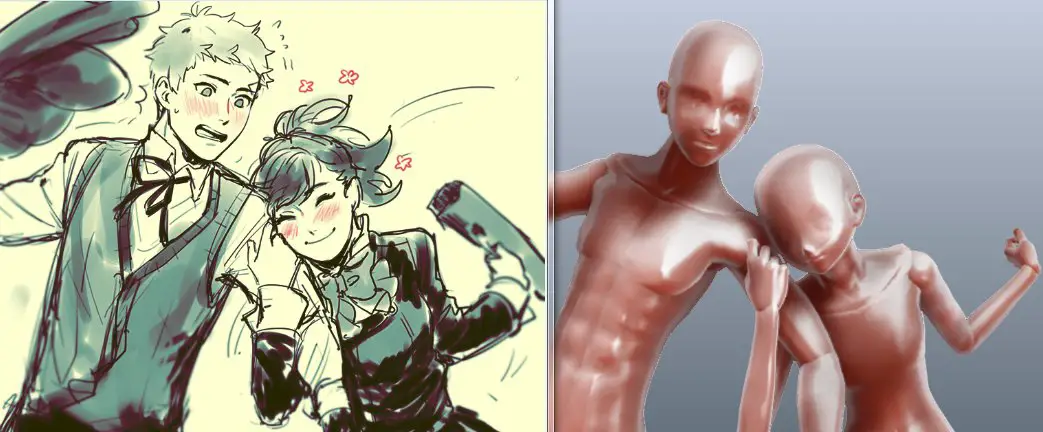
These materials are purely visual and only affect the way your avatar looks into the scene. They can also work as reference depending on the type of character you want to go for in terms of general shading for the final coloring of your drawing. The gradient sphere on the left controls the shadows and their directions, they can be changed by moving the mouse on it and richg-clicking for additional settings. Use the gear icon at the end of the list to customize the generated shading like specular strength and shadows tone.
The effects window even allows you to change camera perspective, set a specific value for the field of view, turn off the lighting for a silhouette mode, have a more simplified “stick-figure” design, hide/unhide shadows and floor grid, replace the background color with pure white.
In order to pose the figure, all you have to do is simply click on it to display its control points, so that you can grab and move them along the axes for the other parts to follow straight. For example, if you pick the ankle point and slide your mouse around, you can see the entire leg moving with it and even bending as you push the figure down.
Here’s an animated test I conducted with this technique:
You can also select specific body parts to activate their rotation gizmos. The hands and feet libraries contain premade poses that you can load directly on the avatar to simplify the process.
The Box feature (right panel, under Model) simply allows you to create random blocks for interactions with the figure, in order to make more realistic sitting or leaning poses.
With the Home key (or from Tool > Large Screen Mode) you can expand the viewport with your avatar, hiding any other window to get a single canvas to work with. You can switch back to the normal view with the Escape key.
To have two or even more models into the scene, right-click in the right panel and select Add Object > Model. With a specific figure selected, right-click on it again and activate the Model’s Eye View, switching the camera to the character’s perspective. Zoom out if you want to reset the camera.
DesignDoll will store your last shading modifications and reload them at the next program launch. The figure itself, however, will revert back to its default state unless you save your edited avatar and open the scene from the menu (just remember that you need the Premium license to do so).
The program can be customized via Tool > Preferences where you can find different settings for the graphic options, effects and rendering. The overall quality depends on the way DesignDoll runs as you pose the avatar (the program isn’t particularly heavy, so it shouldn’t consume too many resources) and you can select a specific resolution for the final doll image. In the options you can set an auto backup, change keys shortcuts and modify the window color.
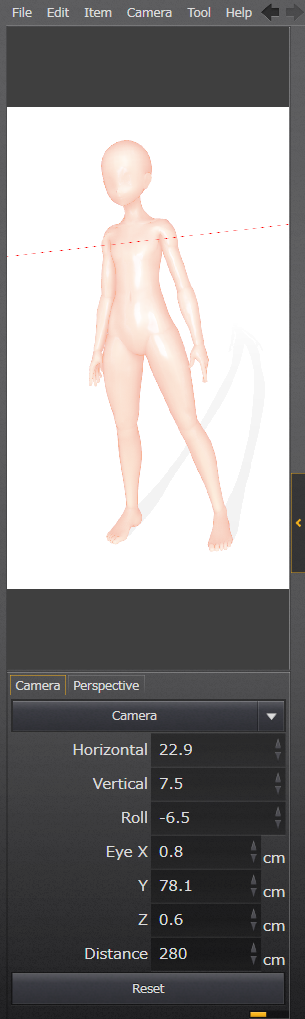
A more detailed camera panel is hidden behind the arrow on the left. In the first tab you can control the overall direction, distance and rotation, the second one includes three options for the FOV and a drop-down menu to change perspective. You can still use your mouse with it too.
Once you’re happy with the pose and camera setup, go to File > Export Flat Image and name the picture also indicating the output folder. Under 3D Resolution you can choose one of the listed sizes supported by your computer and indicate the heigh and width for the image. Unfortunately, the final quality for the high resolution render appears to be quite blurry and doesn’t look crisp at all, but you can still trace your drawing over the shape, as long as you can clearly see the model shape and its shading.
For just a few additional settings I think that the Premium price may be a little too much, but being able to save your edited figure can be extremely useful, especially if you need the same design for other projects. Creating Chibi characters, just to mention one, can be a very tedious work and you may definitely want to store your edit for more references in the future.
You can see an example of Chibi shaping in this video, but you can go more overboard with it being careful about the joints that might break and require a manual repositioning.
Please stay home and be safe everyone, let’s use this bad emergency as an opportunity to make something good!

amzn_assoc_placement = “adunit0”;
amzn_assoc_search_bar = “false”;
amzn_assoc_tracking_id = “pcgamexp-20”;
amzn_assoc_ad_mode = “manual”;
amzn_assoc_ad_type = “smart”;
amzn_assoc_marketplace = “amazon”;
amzn_assoc_region = “US”;
amzn_assoc_title = “My Amazon Picks”;
amzn_assoc_linkid = “1533eb8b9664f14c980c14343080881e”;
amzn_assoc_asins = “B07L77GTTY,B07FZWLWCT,B07XQZNM5S,B07X4S9DJJ”;