VRoid Studio, The Anime Character Maker
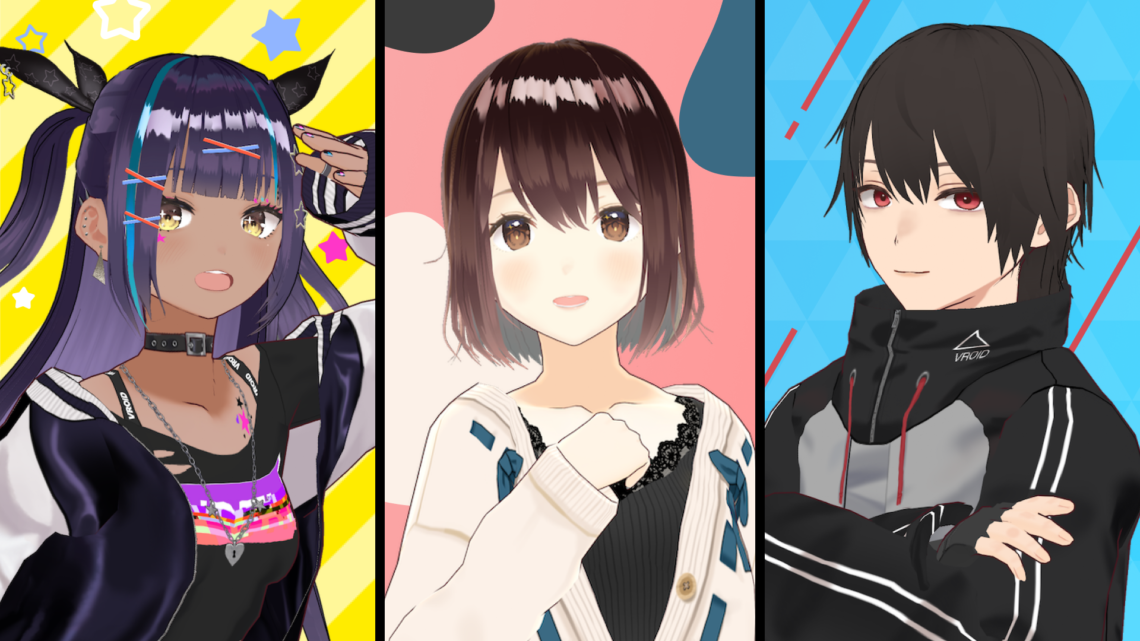
VR games and virtual avatars are becoming more and more popular these days, as a lot of content creators are developing an evident appreciation for the Metaverse. VRoid Studio is a 3D Pixiv application made exclusively to create fantastic Anime characters to use for our artworks, YouTube videos and gaming characters, available for Windows, Mac, iOS and Android systems.
VRoid is a very powerful tool that we can get completely for free, no subscription or additional costs are required unless we want to purchase some custom content available online. We still have all the freedom we need to create unique characters, just with the power of our creativity!
Note: This post includes Affiliate links for external products.
This is not a full tutorial, but mostly a detailed overview.
General Overview (Windows ver.)
The program has been officially updated with the full stable version and it presents a few changes compared to the betas released until now. It is possible to transfer the models created in the old version to the new one, but they will no longer work after this conversion process should we change our mind and go back. As usual, creating a backup beforehand is definitely recommended.
If we want to get into 3D modeling, but do not have enough skills to create an entire character from scratch, we can start using VRoid to familiarize with a few basic tools and the retexturing process. As soon as we launch VRoid, we can only see a + button in the startup screen and no other setting. The models we will create and save from here onward will show up in this section with a proper preview and name. To start our very first creation, we need to click the + and select the base avatar we want to modify. By default we get to choose between a female and male figure, for this demonstration I will pick the girl.
The program will load the selected avatar into a model viewer. We can rotate and zoom in/out with the right mouse button and scroll wheel. We can also improve the 3D quality from Normal to High in the Settings from the three dots on the top right corner, but the edges will still look jagged until we fix the antialiasing later.
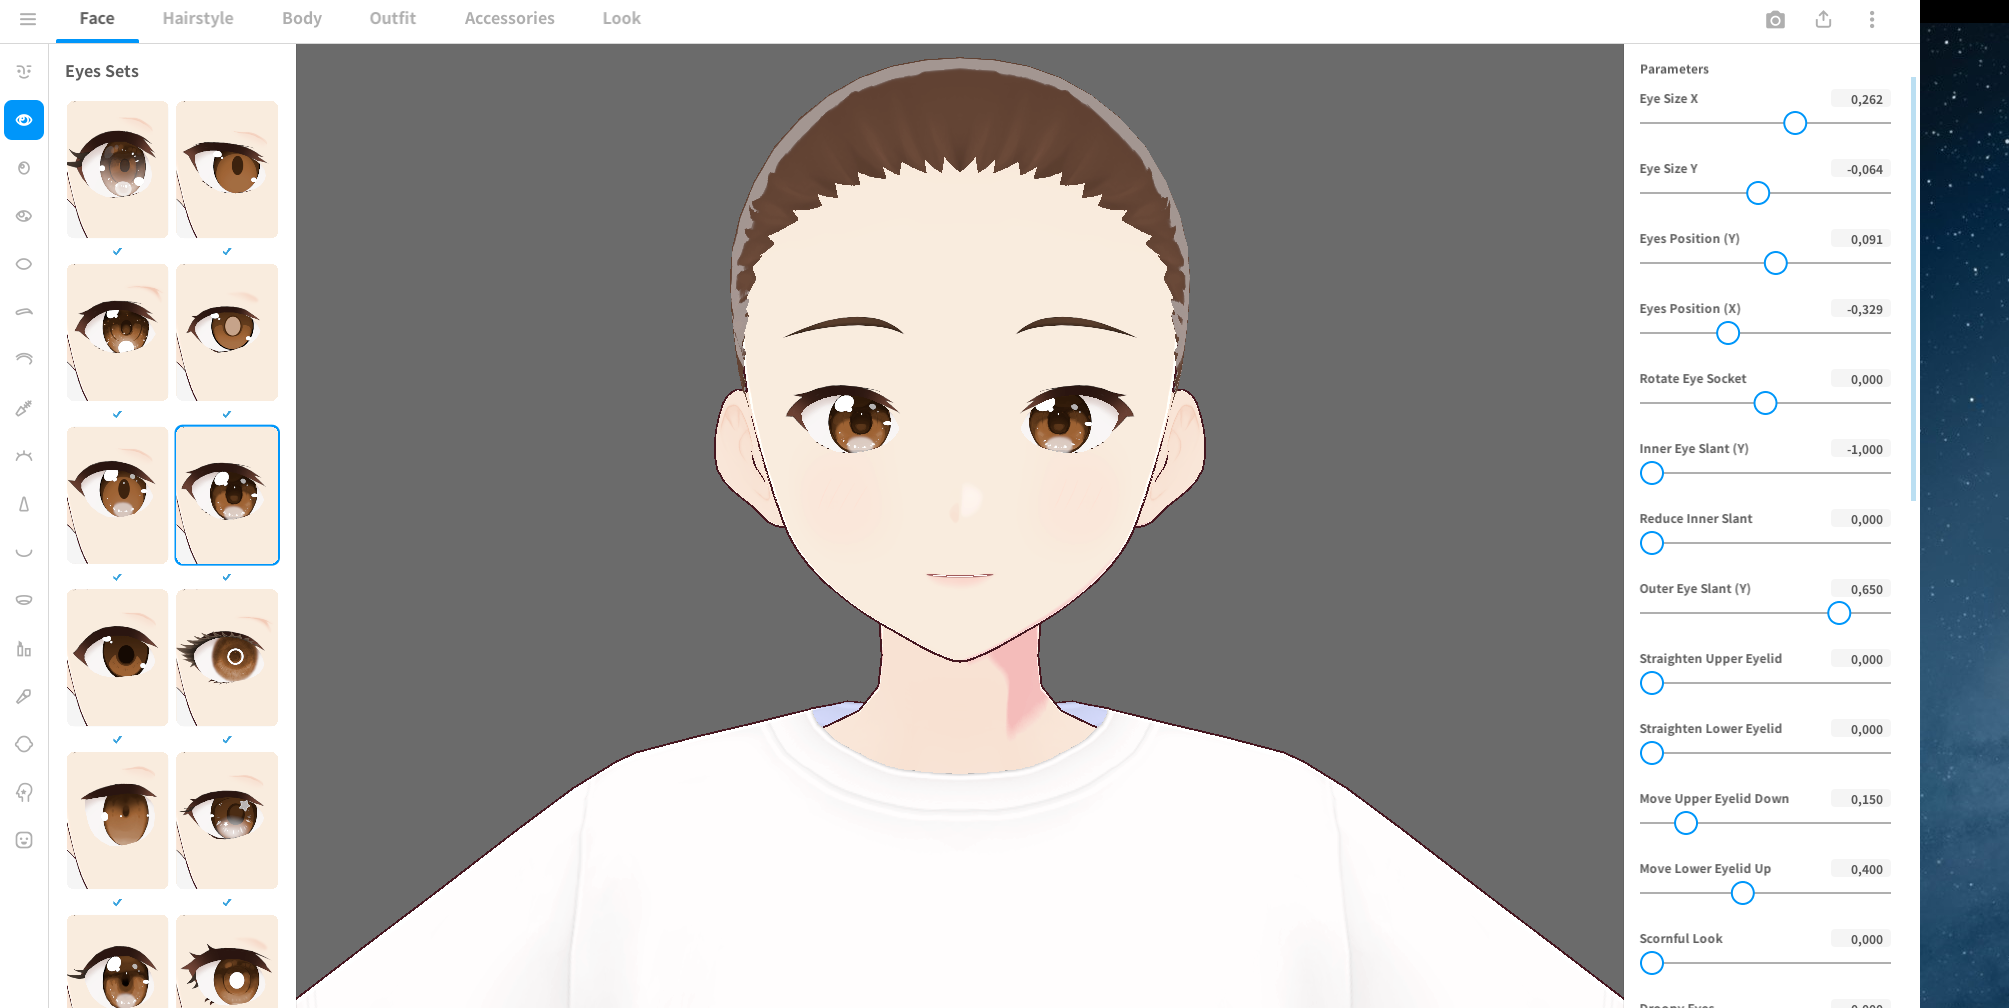
The base model will load with a scalp mesh, a simple white t-shirt, black shorts and a typical Anime look. On the left of the screen we get a bunch of presets we can edit for the face, eyes, hair, nose, eyebrows, makeup and so on. Each preset can be edited in the Parameters settings on the right with the corresponding sliders, this will help us shape the model in a different way and create a more unique appearance.
The Hairstyle section now includes a good variety of hair designs also split in parts (front, sides, back, ponytails, short hair, baby strands). We can create different combinations and edit all the existing styles by selecting the preset we want to alter > Edit Hairstyle > Select Freehand Group > Add Freehand Hair Guides/Add Procedural Hair Guides. The Freehand method allows us to draw in completely new strands over the grid mesh, which we can scale, rotate and move with the buttons at the top left of the model’s viewer. The Procedural method generates automatic strands along the grid that we can manipulate around for an easy placement, with the Mirror button at the top right we can add the strands on both sides in one go.
In order to have our hair moving with the avatar, we need to apply bones to it. This time, instead of selecting the Edit Hairstyle option, we just click on Edit Hair Bounce. We can see the list of hair parts we edited/created on the left, so if we click on those we have access to a Freehand Group submenu. To add bones, we can just check the groups and press the Create Bone Group button, we will notice some bones appearing into the hair part we selected and their full control is available on the right. The settings depend on the way we want the hair to move, so we should test things out a few times by going back and forth between Hair and Photo Booth (I’ll get to that section in a moment) to determine the proper movement and collision.
The body only has two basic presets with a few editable options, but the outfits feature a wider selection for styles we can use and retexture. We can export the basic maps from VRoid and edit them in Photoshop/other programs, or paint them into the tool directly. We can’t import new meshes into VRoid, however, so the only way to have completely new clothes is by editing the original 2D images and creating components with the hair strands (yes, I know this sounds a little weird, but it actually works pretty nicely as hair is made out of planes that we can shape and texture to our heart’s content).
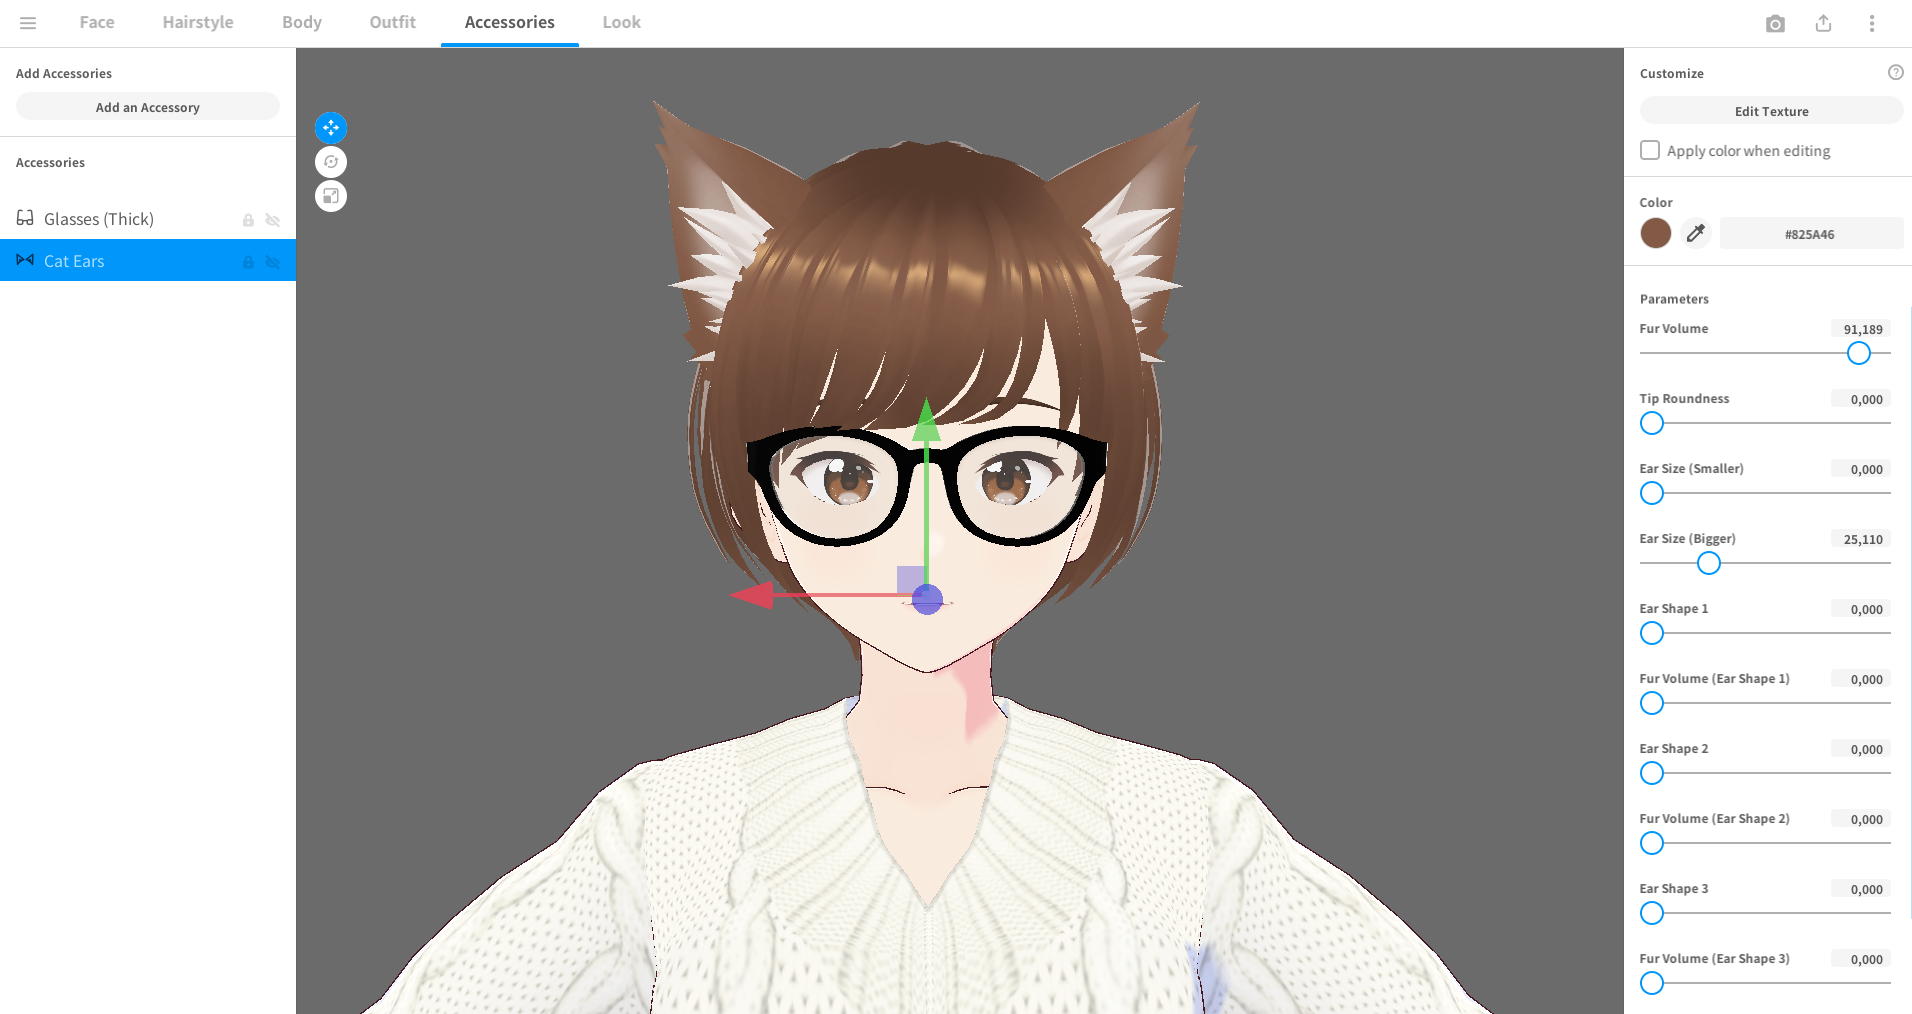
The beta version had a serious lacking for modeled glasses and animal ears, which were a lot trickier to do just with hair strands. The stable version now has these options available and everything is fully customizable from the frames to ear fur.
The Look panel essentially determines how your model will be displayed. The Outline option intensifies or removes the black edges around the avatar, the Rim light we see especially on the back of the hair can be increased, decreased or turned off, while the Shading allows us to change the hardness of the shadows and give the character a softer, more pastel-like design. The Eye Alignment will have the eyes follow the camera from each angle and the Bones sliders will alter the Outfit and body Amplitude.
Now it’s time for some shooting and animation testing. The Photo Booth can be opened with the camera icon on the top right, there we can see our model blinking and ready for some action into the scene. With the face sliders we can check different facial expressions (better turn blinking off in that case), teeth settings, poses and animations, background, lighting, wind and post-processing (the Anti-aliasing can finally get rid of the jagged edges, making our avatar appear smooth and nice to the eyes while zooming out. This change unfortunately doesn’t seem to affect the actual viewport). Under Pic Size we change the scaling of our images and adjust the window. By pressing the X on the top left corner we can close the Photo Booth window and go back to our character creation.
To save the finished avatar we go to the three lines and click on Save As. The next time we open VRoid, our brand new character will appear in the list. The avatars will be physically located in C:/Documents/VRoid/Avatars.
Textures Customization
And now you may wonder, how do we properly change the original textures into something else? This may require a basic artistic knowledge as we have to manually paint over the default textures (or edit them externally if we decide to export them instead), but it can be done with no particular skill. The first thing we would like to edit is definitely the skin, so we have to open the Face section and scroll down to the Skin panel, then we click on Edit Texture once our preset is selected. This can be done with everything we set on our avatar, from the makeup to the face paints and even the inside of the figure’s mouth. A new window will appear with the basic face texture loaded on the right, including the Brush Type settings and Drawing Mode (Default, Multiply, Darken, Color Burn). We can either paint on the texture or the avatar itself, the changes will be stored on both at the same time. This is very convenient because we can see everything in realtime and also turn the model around to paint different angles more accurately.
Alternatively, we can export the main textures from VRoid and edit them in Photoshop if that is our preference. That can be done by simply right-clicking on the texture under Layers, selecting Export and saving it on our device. We can add more layers to generate different details on the skin and have them standalone for an easy edit. To open a modified texture, we repeat the process and select Import.
While the clothes texturing essentially works the same way as the skin and eyes, there are a few additional steps we can do to achieve different results. In this section we can take advantage of the eraser tool as well (selectable in the avatar window) to fake transparency on the garments and make them shorter for a completely new design. Sometimes though, we may notice that the body underneath has missing parts the moment we erase some (or all) of the top part, this happens because of the Skin Mask feature that the stable version of VRoid has introduced. To fix this, we click on the Skin Mask button and select the slot, we will notice there are black areas marked on it and those are responsible for the skin disappearing. To bring the missing areas back, we select a white brush and paint over the dark parts to restore the original state of the mask, then we can modify it again according to our needs once the new clothes are done.
In this timelapse video you can watch a very interesting creation from start to finish and see how original our characters can turn out to be:
Export
VRoid avatars can be fully exported in a functional 3D format along with their textures. We have to click on the arrow icon next to the camera and select Export as VRM. A new screen will show up again with our model in T-pose and three settings to change; Reduce Polygons is an important option that may help us a lot should we have specific limitations to respect on that regard, since the amount of polygons is what determines the model’s quality and functionality in the game (a heavy model will cause a lag and make the animations problematic). Each model has to be crafted with a specific number of polygons in mind, we can hardly expect an ingame model to be as detailed and high poly as a character created for CGI movies with strands or fur rendered in realtime through the engine directly and textures higher than 4k. In this case though, VRoid has certainly a much reduced amount of polygons due to the stylized design and what it was made for, but you can still push the level of detail down if needed.
By moving the Hair Smoothness and/or Hair slider up we take away its definition, making the edges sharper and less rounded. The same will happen with Face, Body and Outfit if we have any, even if the change will be less noticeable on the visage. Under Materials we can select a different number of materials the model should have once exported, while the texture quality (2k by default) can be shrinked to make the model lighter. I would personally leave Reduce Bones untouched, since taking away some will result in a lower quality and less natural physics.
If we click on Export, we get another window that prompts us to write a name for the Avatar and ourselves as the creator (these two are mandatory). The other spaces are not important and can stay empty, unless we want to share the finished model to the public. To store the .vrm file we have to choose a folder and confirm.
If the textures will not be stored alongside the model, we must go back to the character creator and manually export them all as we’ve seen before.
From VRoid to Blender
Blender is a free 3D program constantly under development, funded by important corporates such as Adobe, AMD, Apple, Unity, Ubisoft and Epic Games, even used in most notorious productions. We can import our VRoid models into Blender for any sort of rendering or animation work using the VRM Importer, or simply tweak the avatar from there for any additional detailing work that we cannot do with VRoid alone. A full tutorial on how to install and use the addon can be found here and in this video you will get the complete guide to properly fix and tweak the model for VRChat (the VRoid version used in the tutorial is the beta one, so a few things may differ a little bit from the stable version).
Graphic Tablet
While we can do everything just with our mouse and no external tools, painting textures is quite a difficult task that requires precision. I personally prefer to use a graphic tablet as it allows me to have a firmer hand and draw on the ‘canvas’ like I would draw on paper. Although any graphic tablet will do, the best option is the one with a display. I still own a rather old Wacom tablet that does a very nice job overall, but keeping my eyes glued to the monitor while moving the pen blindly on my right is far from convenient (I’m telling you, if you do not have a firm hand, things can really get interesting). I would like to recommend the Huion Kamvas Pen Display because it got a more accessible price compared to other brands while still doing its job pretty nicely. We only need to connect it to our computer via HDMI and USB port, install the software for the configuration and then we’re good to release our imagination. Different models are availaible on the market such as the HUION 2020 Kamvas 13, HUION KAMVAS Pro 16, HUION Kamvas 22 Plus and other similar products that vary in price. I’ve been using the PRO 13 HD since 2019 and I can confirm it’s been lifechanging for more reasons than one; I obtained a better precision with my free hand tracing (useful also for the hair creation in VRoid), smooth and instant response while drawing, good offset and pressure, nice screen quality and resolution. I also started to use the display tablet as a monitor in combination with a second keyboard whenever I want to switch to my laptop and play a game there, or just easily type and multitask by using different machines at once. Due to the limited space on my current workstation, the laptop is placed in a very uncomfortable position and I wouldn’t be able to do anything without breaking my neck and back at the same time.
Last, but not least, the package includes a drawing glove that is normally sold separately with other tablets. It may not be necessary to some people, but it makes our hand slide easily over the display and prevents our skin from becoming sticky against the surface.
While I haven’t yet used VRoid at its full potential, it is a program I’ve constantly updated and checked over. It can be also used for artworks or videos if we’re not into VRChat nor virtual avatars in general. The models can be exported with their full rig and manipulated even further if we know how to model separately. VRoid keeps growing and expanding while staying free to use, absolutely worth it and must-try for any Anime lover and/or 3D addict!

